
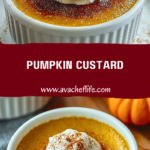
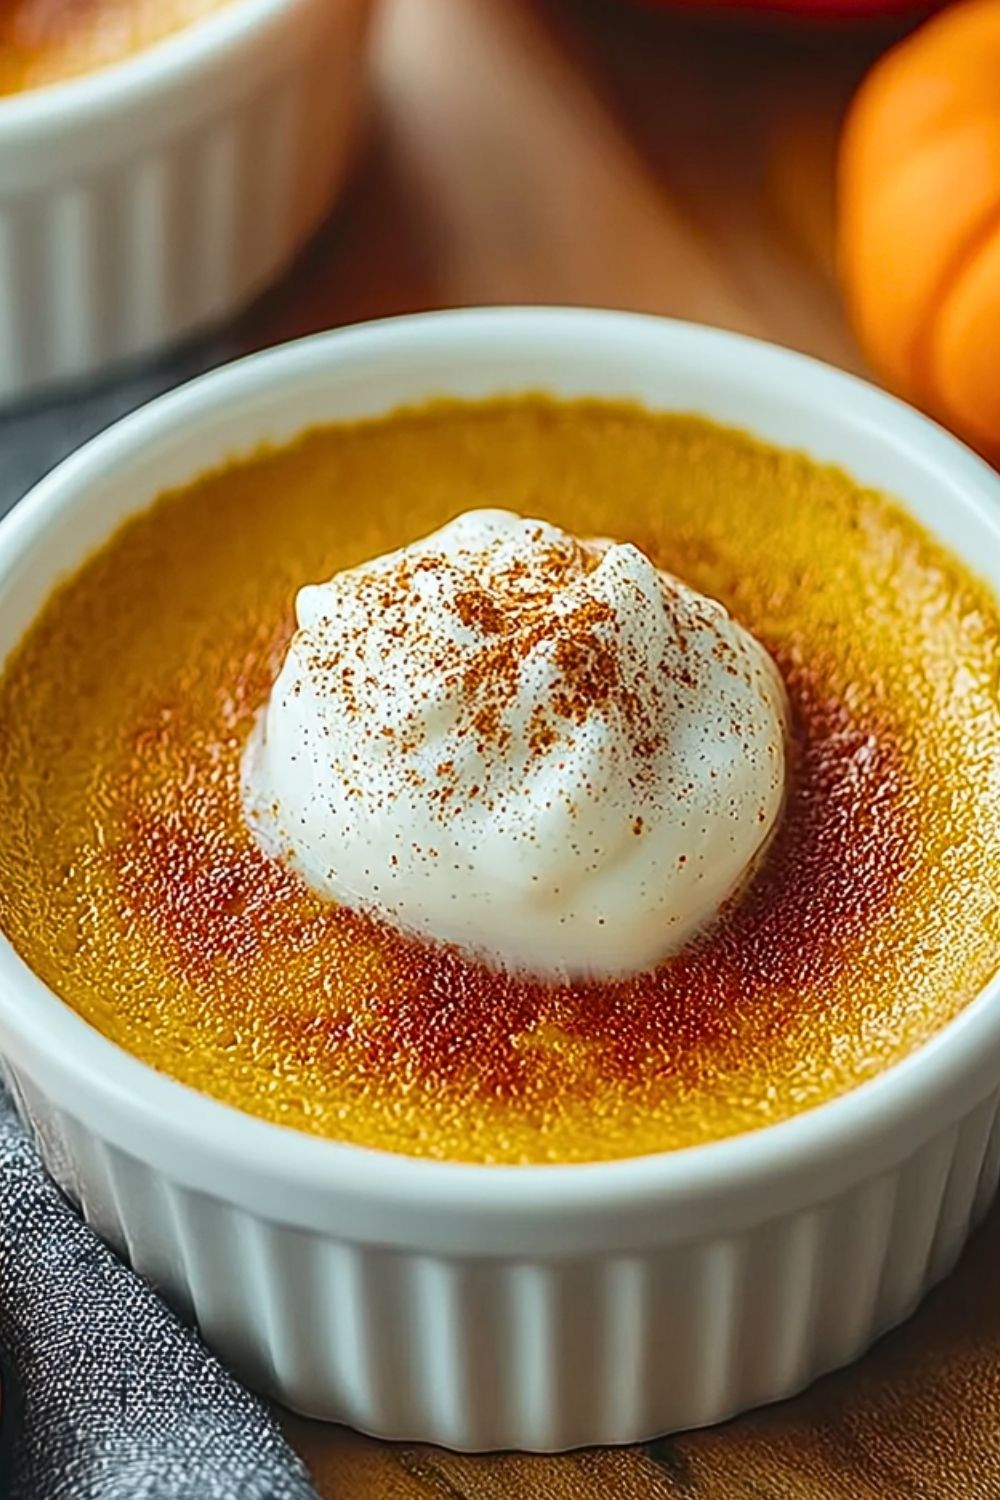
Creamy, cozy, and perfectly spiced — Pumpkin Custard is like a warm hug in dessert form. With its silky texture and deep autumn flavor, it captures everything we love about fall baking in one elegant, fuss-free dish. Unlike pumpkin pie, there’s no crust to worry about, making it lighter yet just as satisfying. Whether served warm or chilled, this custard melts in your mouth and pairs beautifully with a dollop of whipped cream and a sprinkle of cinnamon.
Pumpkin Custard is a delicious way to enjoy pumpkin season without overcomplicating things. It’s ideal for a quick dessert after dinner, holiday gatherings, or a make-ahead sweet treat that stays impressive without much effort. Simple ingredients like canned pumpkin, eggs, milk, and cozy spices come together in the oven to create a naturally gluten-free dessert that tastes like fall in every bite.
Why You’ll Love This Pumpkin Custard
- No crust needed: All the flavor of pumpkin pie without the extra steps.
- Naturally gluten-free: Great for those avoiding wheat-based desserts.
- Versatile serving: Enjoy it warm, room temp, or chilled.
- Make-ahead friendly: Perfect for prepping a day or two in advance.
- Balanced sweetness: It’s not too sugary, so the pumpkin and spice shine through.
Preparation Phase & Tools to Use
To make Pumpkin Custard seamlessly, you’ll want the following tools:
- Mixing Bowls: Essential for whisking the custard base ingredients together.
- Whisk: Helps combine the eggs, milk, and pumpkin smoothly.
- Measuring Cups & Spoons: Precision matters when it comes to baking.
- Fine Mesh Sieve (optional): For an ultra-smooth custard texture, straining the mix before baking is a nice touch.
- Ramekins: Individual serving dishes that allow even baking.
- Baking Dish + Hot Water: The ramekins will be baked in a water bath (bain-marie) to ensure gentle, even cooking.
Each tool plays a vital role in ensuring the custard bakes evenly without curdling or cracking.
Preparation Tips
Use room temperature ingredients to ensure a smooth custard mix. Don’t skip the water bath; it’s key to that creamy, crack-free finish. Whisk gently to avoid incorporating too much air, which can lead to a spongy texture. If you want a more velvety consistency, strain the mixture before pouring it into ramekins. And finally, allow the custard to rest after baking for the flavors to settle and the texture to firm up.
Ingredients for this Pumpkin Custard`
- 1 cup canned pumpkin puree (not pumpkin pie filling)
- 2 large eggs
- 1/2 cup granulated sugar
- 1 cup whole milk (or half-and-half for a richer custard)
- 1/2 teaspoon ground cinnamon
- 1/4 teaspoon ground ginger
- 1/8 teaspoon ground nutmeg
- 1/8 teaspoon ground cloves
- 1/4 teaspoon salt
- 1 teaspoon pure vanilla extract
- Optional toppings: whipped cream, cinnamon or nutmeg for dusting

Step 1: Preheat and Prepare the Water Bath
Preheat your oven to 325°F (163°C). Boil a kettle or saucepan of water for the water bath. Arrange 4-6 ramekins in a deep baking dish that allows them to sit flat and not touch each other.
Step 2: Mix the Custard Base
In a large mixing bowl, whisk together the pumpkin puree, eggs, and sugar until smooth and fully blended. This forms the flavorful base of the custard.
Step 3: Add Milk and Flavorings
Slowly whisk in the milk (or half-and-half), then add cinnamon, ginger, nutmeg, cloves, salt, and vanilla extract. Stir until the mixture is smooth and evenly spiced.
Step 4: Strain for Silky Texture (Optional)
For a luxuriously smooth custard, strain the mixture through a fine mesh sieve into another bowl. This step removes any bits of egg or pumpkin that didn’t blend fully.
Step 5: Fill the Ramekins
Pour the pumpkin custard mixture evenly into the prepared ramekins, filling each about 3/4 full. Avoid overfilling to prevent spillover while baking.
Step 6: Bake in a Water Bath
Carefully pour the hot water into the baking dish around the ramekins, filling halfway up their sides. Bake for 35–45 minutes or until the custard is set around the edges but still slightly jiggly in the center.
Step 7: Cool and Serve
Remove the ramekins from the water bath and let them cool on a wire rack. Once cooled, refrigerate for at least 2 hours (or overnight) for best texture. Top with whipped cream and a dusting of cinnamon or nutmeg before serving.
Notes
Pumpkin Custard is a fantastic way to enjoy the flavors of fall without the fuss of making a full pie. It’s versatile and forgiving, meaning you can tweak the spices to suit your taste or use dairy alternatives like almond or oat milk. For extra indulgence, top with maple whipped cream or a sprinkle of crushed gingersnaps. If you’re entertaining, this dessert presents beautifully in individual ramekins and feels elegant yet comforting.
Watch Out for These Mistakes While Cooking
- Skipping the water bath: This leads to uneven baking and can make the custard curdle or crack.
- Overbaking: The center should still jiggle slightly when you remove it from the oven. Overbaking results in a rubbery texture.
- Using pumpkin pie filling: Always use pure pumpkin puree to control sweetness and spice.
- Not straining the mix: Though optional, this step greatly improves texture and removes any egg bits or fibrous pumpkin strands.
Storage Instructions
Pumpkin Custard can be made ahead and stored in the refrigerator for up to 4 days. Once cooled to room temperature, cover each ramekin tightly with plastic wrap or foil. Do not freeze, as the texture will break down. For best results, serve chilled or let it sit at room temperature for about 20 minutes before serving.
Estimated Nutrition (per serving)
- Calories: ~180 kcal
- Carbohydrates: 22g
- Protein: 5g
- Fat: 7g
- Saturated Fat: 3g
- Cholesterol: 95mg
- Sodium: 140mg
- Fiber: 2g
- Sugar: 18g
Frequently Asked Questions
Can I make Pumpkin Custard dairy-free?
Yes! Use full-fat coconut milk, oat milk, or almond milk as a substitute for dairy.
Can I use fresh pumpkin instead of canned?
Absolutely. Just roast and puree your fresh pumpkin until smooth. Make sure to drain excess moisture.
What size ramekins should I use?
4-ounce ramekins work best, but 6-ounce ramekins are fine with a slightly longer baking time.
How do I know when the custard is done?
It should be set on the edges and slightly jiggly in the center. A knife inserted 1 inch from the edge should come out clean.
Can I bake this in one large dish instead of ramekins?
Yes, you can use a larger baking dish. Increase the baking time and make sure to still use a water bath.
Is this dessert gluten-free?
Yes, naturally! Just ensure any toppings like cookies or whipped cream are gluten-free if needed.
Can I make it ahead for a party?
Definitely. It’s a perfect make-ahead dessert. Prepare it a day in advance and chill until ready to serve.
Do I need to cover the ramekins while baking?
Not necessary unless your oven tends to overbrown the tops. You can loosely tent with foil if needed.
Conclusion
Pumpkin Custard is an effortless yet elegant dessert that brings out the best of autumn spices and creamy texture. It’s a lighter take on pumpkin pie that doesn’t sacrifice flavor. Whether you’re looking for an easy dinner dessert, a cozy fall treat, or something special for the holidays, this custard delivers every time. With a few simple ingredients and the right technique, you’ll have a go-to dessert everyone will love.
Pumpkin Custard
- Prep Time: 10 minutes
- Cook Time: 40 minutes
- Total Time: 50 minutes
- Yield: 4 to 6 servings
- Category: Dessert
- Method: Baking
- Cuisine: American
Description
Cozy, creamy, and packed with fall flavor, this Pumpkin Custard is a quick dessert idea perfect for any occasion. It’s a crustless, no-fuss version of pumpkin pie that comes together with just a handful of pantry staples. Whether you’re looking for an easy dinner dessert, a healthy snack, or festive food ideas for holiday parties, this custard delivers. Naturally gluten-free and adaptable to dairy-free diets, it’s one of those simple yet elegant breakfast ideas or sweet treats that everyone will ask for again.
Ingredients
1 cup canned pumpkin puree
2 large eggs
1/2 cup granulated sugar
1 cup whole milk
1/2 teaspoon ground cinnamon
1/4 teaspoon ground ginger
1/8 teaspoon ground nutmeg
1/8 teaspoon ground cloves
1/4 teaspoon salt
1 teaspoon pure vanilla extract
Optional: whipped cream, ground cinnamon or nutmeg for topping
Instructions
1. Preheat your oven to 325°F (163°C). Boil water for the water bath. Arrange ramekins in a deep baking dish.
2. In a large bowl, whisk pumpkin puree, eggs, and sugar until smooth.
3. Add milk, cinnamon, ginger, nutmeg, cloves, salt, and vanilla. Whisk until well combined.
4. For extra smooth texture, strain the mixture through a fine mesh sieve.
5. Pour mixture into ramekins, filling each about 3/4 full.
6. Pour hot water into the baking dish around the ramekins, halfway up the sides.
7. Bake for 35–45 minutes until the edges are set and the center slightly jiggles.
8. Remove ramekins from water bath and cool. Chill for at least 2 hours before serving. Top with whipped cream and dusting of cinnamon if desired.
Notes
1. Always use pure pumpkin puree, not pie filling, for the best control of flavor and sweetness.
2. Straining the mixture before baking gives a restaurant-quality smooth texture.
3. Letting the custard chill fully allows flavors to meld and custard to set properly.
Nutrition
- Serving Size: 1 ramekin
- Calories: 180
- Sugar: 18g
- Sodium: 140mg
- Fat: 7g
- Saturated Fat: 3g
- Unsaturated Fat: 4g
- Trans Fat: 0g
- Carbohydrates: 22g
- Fiber: 2g
- Protein: 5g
- Cholesterol: 95mg
Keywords: pumpkin custard, fall dessert, easy recipe, gluten-free dessert, quick pumpkin dessert, no crust pumpkin pie