
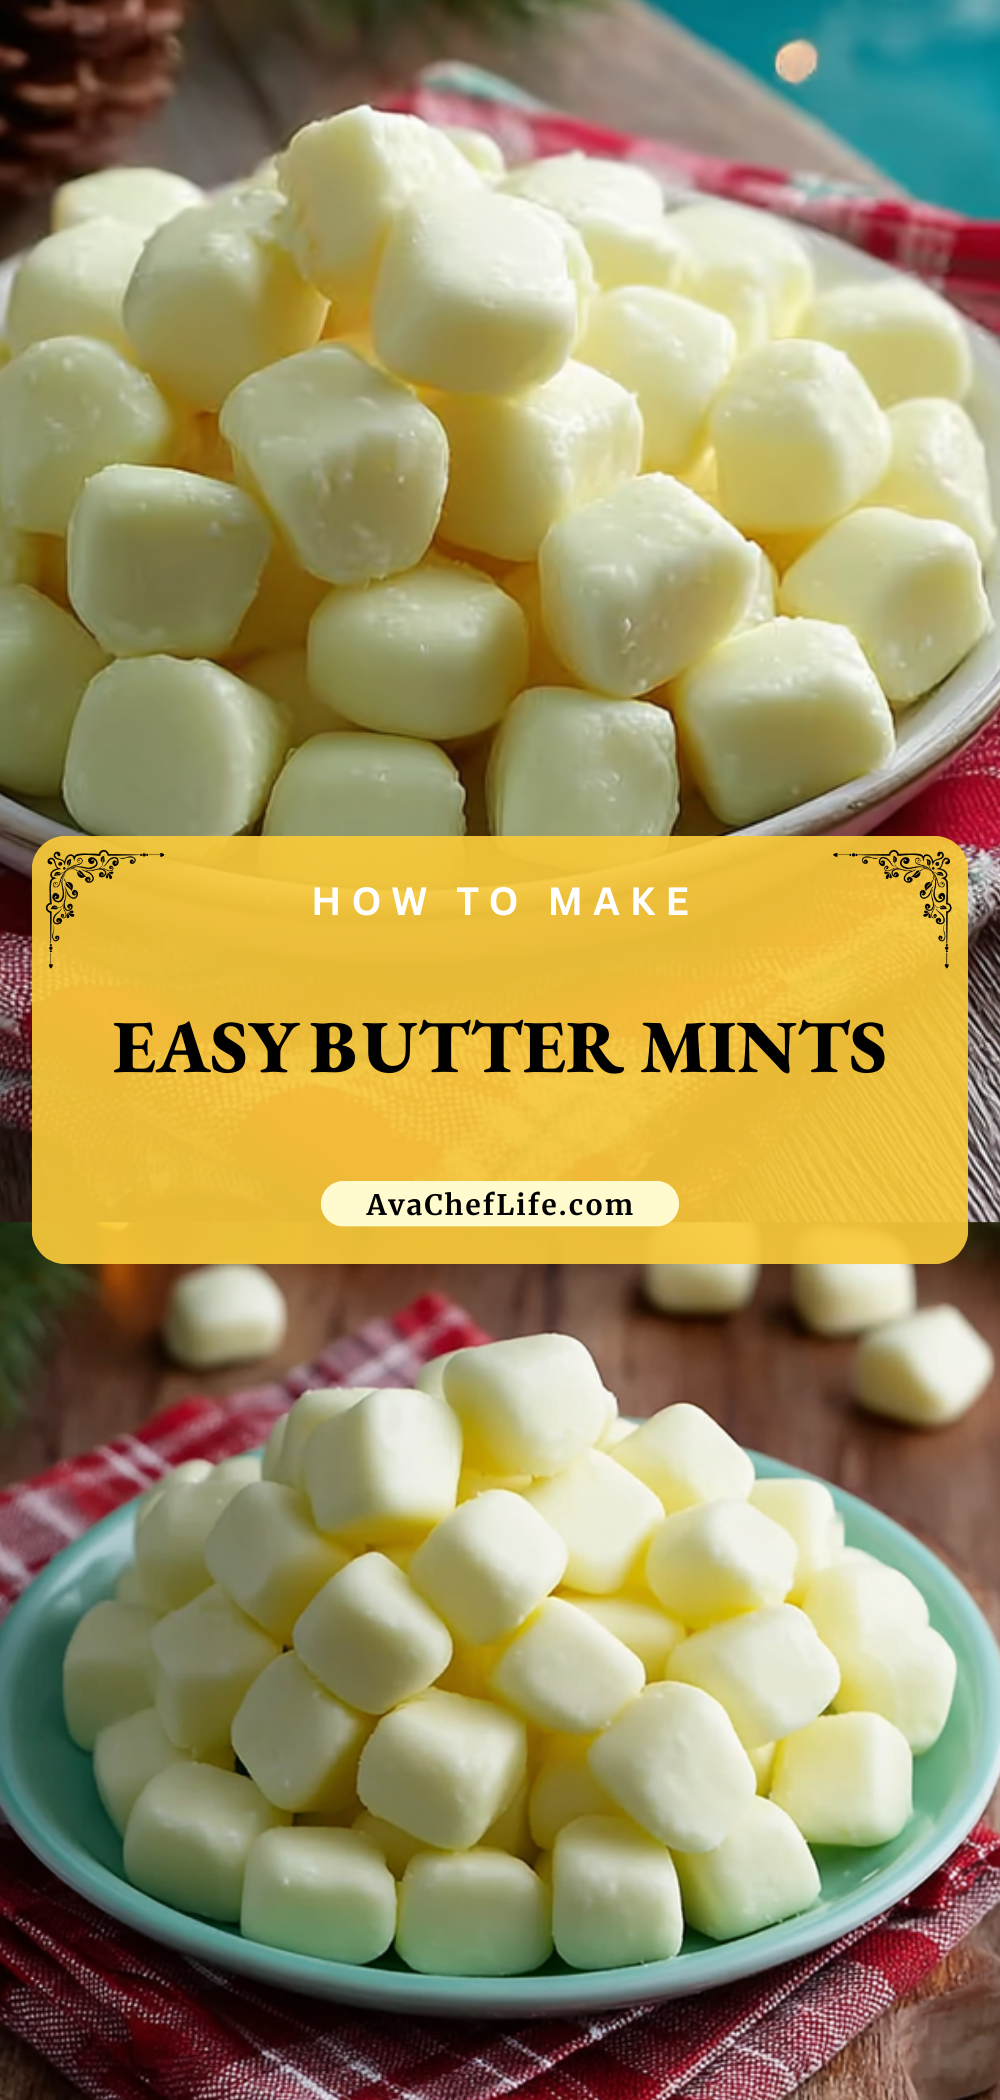
I’ve always had a soft spot for those melt-in-your-mouth candies that seem to appear at weddings, baby showers, and holiday gatherings. Easy Butter Mints are one of those timeless treats I find myself coming back to year after year. They’re delicate, creamy, and have that smooth peppermint finish that instantly feels festive and comforting.
What I love most about making Easy Butter Mints at home is how surprisingly simple they are. With just a handful of ingredients and a little mixing, I can create a batch of sweet, pastel candies that look charming on any dessert table. They’re perfect for gifting, decorating cookie trays, or keeping in a jar for a quick sweet bite.
Why You’ll Love This Easy Butter Mints
Easy Butter Mints are wonderfully smooth and practically dissolve the moment they hit your tongue. The buttery richness balances beautifully with the cool peppermint flavor, creating a candy that feels both indulgent and refreshing.
They’re also incredibly versatile. You can tint them in different colors for holidays, pipe them into fun shapes, or keep them classic and simple. Since they require no baking, they’re ideal when you want a homemade candy without turning on the oven.
What Flavoring Works Best for Easy Butter Mints?
Peppermint extract is the traditional and most popular choice for Easy Butter Mints because it gives that classic cool, clean flavor. I recommend using pure peppermint extract rather than imitation for the best taste.
If you’d like to experiment, you can try spearmint for a softer mint profile or even swap in vanilla, almond, or lemon extract for a completely different twist. The key is to use extracts sparingly, as a little goes a long way in candy-making.
Options for Substitutions
If you need to adjust the recipe, there’s some flexibility. Salted butter can be used instead of unsalted—just skip any additional salt to keep the flavor balanced.
For a dairy-free version, plant-based butter substitutes can work, though the texture may be slightly softer. Gel food coloring is preferable over liquid food coloring, but if liquid is all you have, use it cautiously to avoid thinning the mixture too much.
You can also adjust the sweetness slightly by controlling how much powdered sugar you knead into the dough. Adding it gradually allows you to reach the perfect consistency without making the mints overly firm.
Easy Butter Mints
Ingredients for This Easy Butter Mints
Unsalted Butter
Butter is the foundation of Easy Butter Mints. It provides the rich, creamy texture that allows the candy to melt smoothly in your mouth. The butter must be softened to room temperature so it blends evenly and creates a silky base without lumps.
Powdered Sugar
Powdered sugar gives structure and sweetness to the mints. Its ultra-fine texture ensures a smooth consistency, which is essential for that classic melt-away finish. Granulated sugar will not work here because it won’t dissolve properly.
Heavy Cream
A small amount of heavy cream helps bind the mixture and creates a softer, creamier texture. It also makes the mint dough easier to pipe or roll into shapes.
Peppermint Extract
Peppermint extract provides the signature cool and refreshing flavor. Since extracts are concentrated, only a small amount is needed to flavor the entire batch.
Salt (Optional)
A pinch of salt enhances the sweetness and balances the overall flavor, especially if using unsalted butter.
Gel Food Coloring (Optional)
Gel food coloring allows you to customize the mints for holidays, weddings, baby showers, or themed events. Gel coloring is preferred because it adds vibrant color without thinning the dough.
Step 1: Soften and Prepare the Butter
Place the unsalted butter on the counter for 30–60 minutes before starting. It should be soft enough to press with your finger but not melted. If the butter is too cold, the mixture will be lumpy; if melted, the mints may become greasy and difficult to shape.
Cut the butter into smaller pieces and place it in a large mixing bowl to make blending easier and more even.
Step 2: Cream the Butter Until Smooth
Using a hand mixer or stand mixer fitted with the paddle attachment, beat the butter on medium speed for 2–3 minutes. This step incorporates air and ensures a smooth, creamy base. Scrape down the sides of the bowl as needed to prevent uneven mixing.
The butter should appear pale and fluffy before moving to the next step.
Step 3: Add the Peppermint Extract and Cream
Pour in the peppermint extract and heavy cream while mixing on low speed. Blend just until combined. Avoid overmixing at this stage, as it can cause the mixture to become too soft.
Taste the mixture carefully (before adding powdered sugar fully) to ensure the mint flavor is balanced. If a stronger flavor is desired, add extract one drop at a time.
Step 4: Gradually Incorporate the Powdered Sugar
Add powdered sugar one cup at a time while mixing on low speed. This prevents a sugar cloud and ensures even incorporation. After each addition, allow the sugar to fully blend before adding more.
As the mixture thickens, it will begin to resemble a soft dough. If it becomes too stiff for the mixer, switch to mixing by hand with a sturdy spatula or your hands.
Continue adding powdered sugar until the dough is firm, smooth, and no longer sticky to the touch.
Step 5: Knead the Dough
Lightly dust your work surface with powdered sugar and transfer the mint dough onto it. Knead gently for 2–3 minutes to create a uniform texture. The dough should feel smooth, pliable, and similar to soft play dough.
If the dough sticks to your hands, knead in a small amount of additional powdered sugar, one tablespoon at a time.
Step 6: Add Color (Optional)
Divide the dough into separate portions if using multiple colors. Add a small amount of gel food coloring to each portion and knead until the color is evenly distributed.
For pastel shades, use a toothpick to add tiny amounts of gel coloring gradually. Remember that the color may deepen slightly as the mints dry.
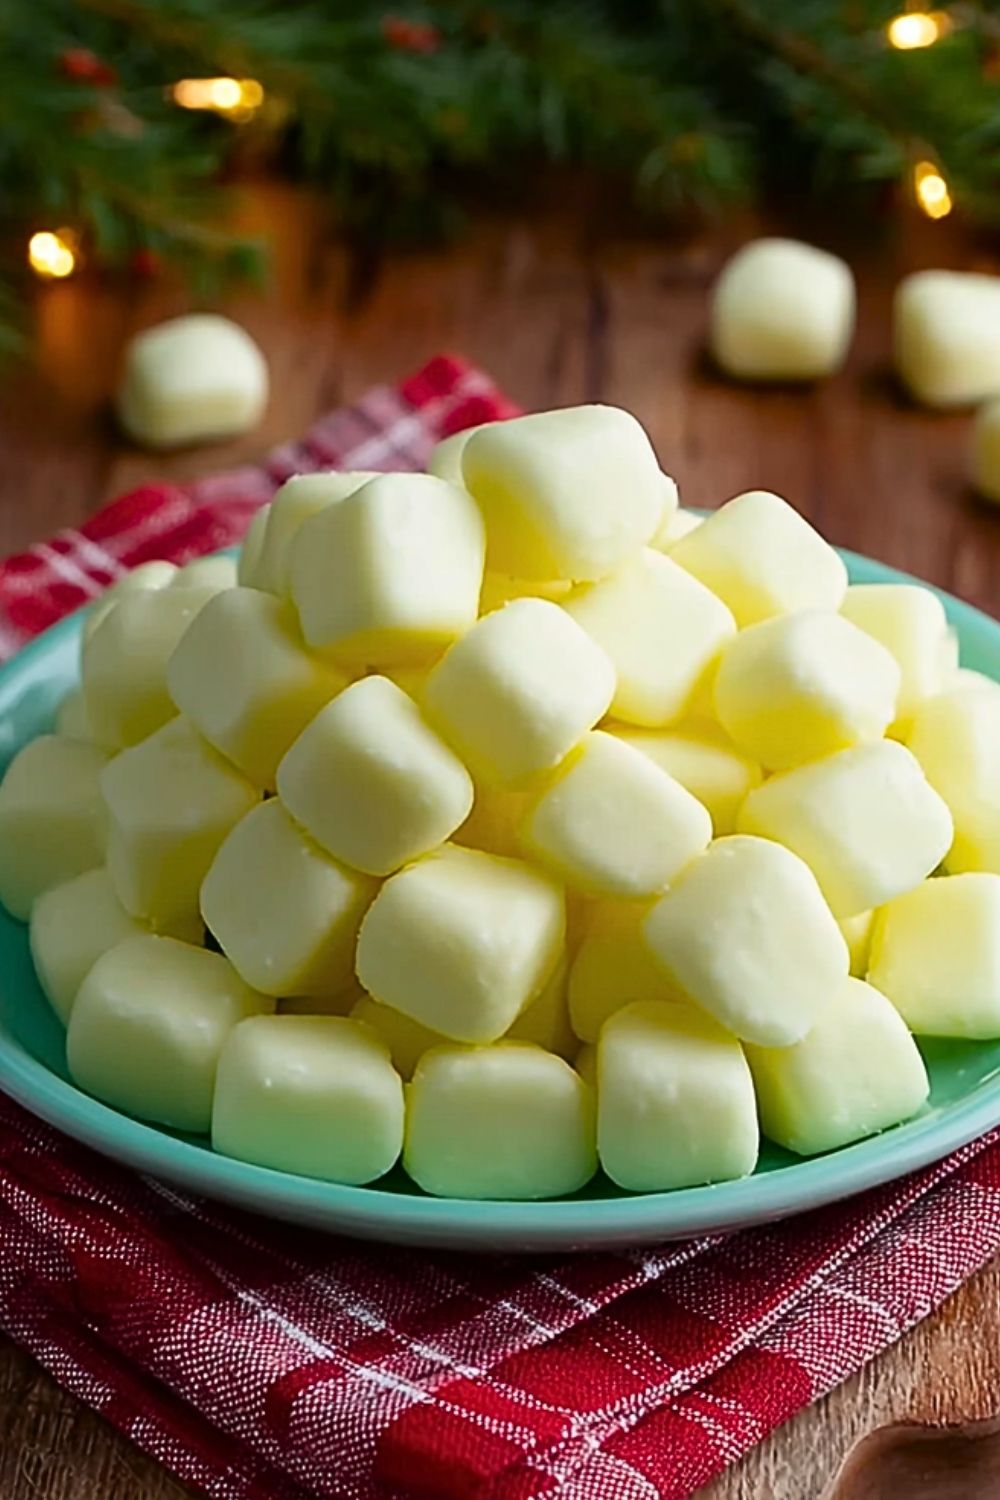
Step 7: Shape the Easy Butter Mints
There are several ways to shape your mints:
- Roll small portions into ropes and cut into bite-sized pieces.
- Roll into small balls and flatten gently with a fork for a decorative pattern.
- Use a piping bag fitted with a star tip to pipe classic swirled mints.
- Press the dough into silicone candy molds for uniform shapes.
Place shaped mints onto a parchment-lined baking sheet, leaving space between each piece to allow air circulation.
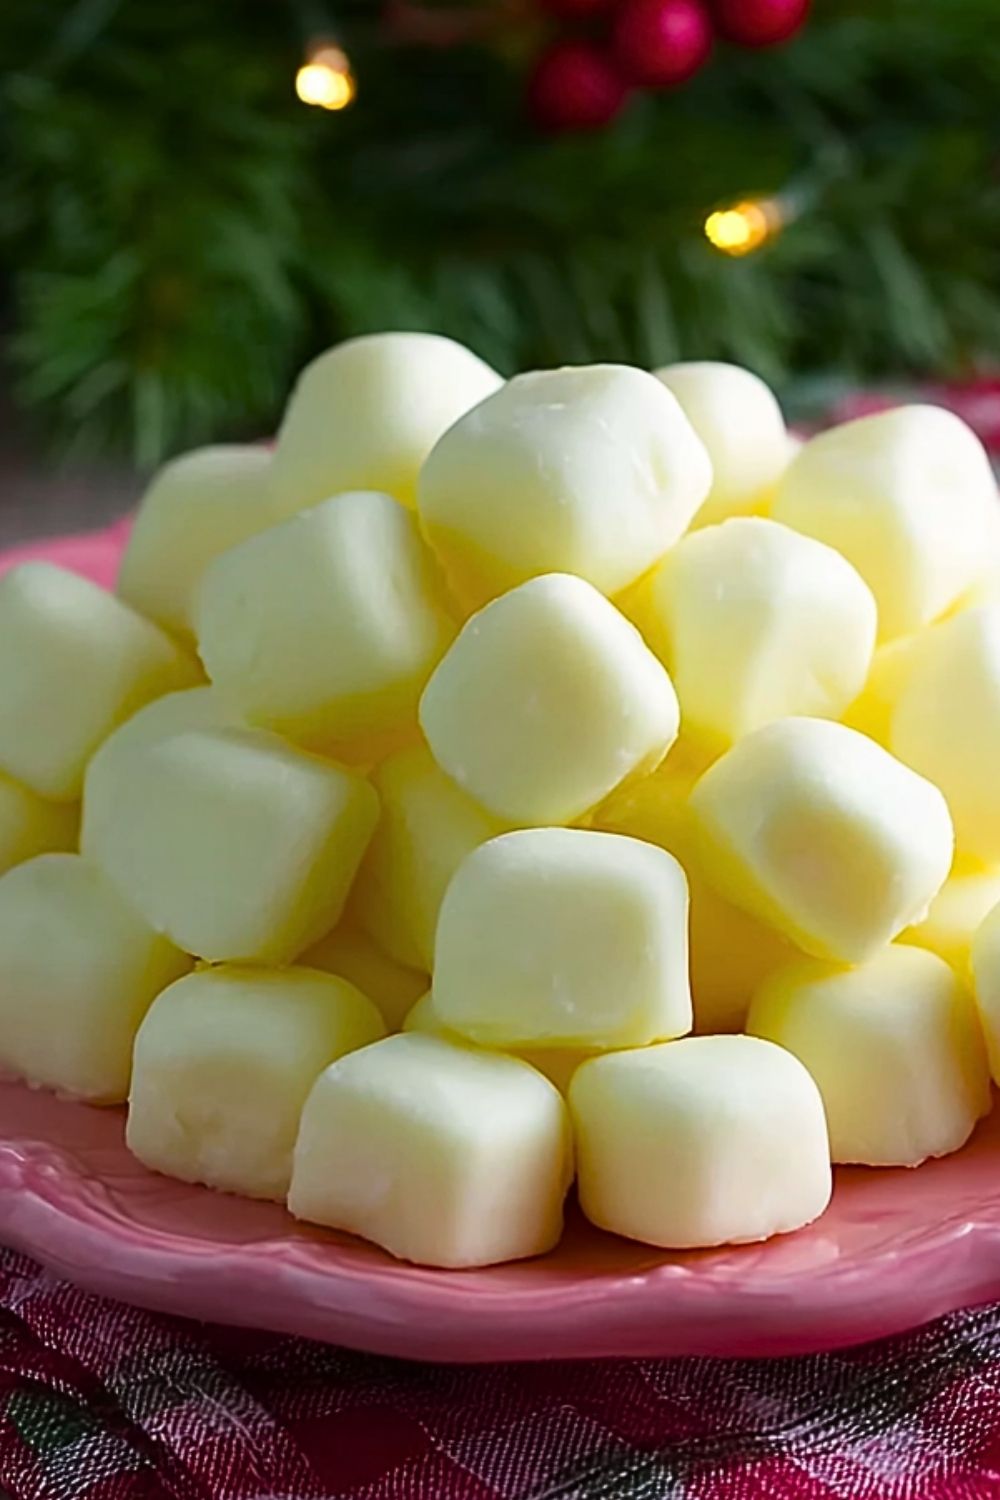
Step 8: Let the Mints Dry and Set
Allow the Easy Butter Mints to air-dry at room temperature for 12–24 hours. During this time, they will firm up on the outside while remaining creamy inside.
Turn the mints halfway through the drying process to ensure even setting on all sides. Avoid refrigerating during the drying stage, as condensation may affect texture.
Once fully set, they should feel firm to the touch but still melt smoothly when eaten.
Easy Butter Mints
How Long to Prepare the Easy Butter Mints
Preparing Easy Butter Mints is refreshingly simple and doesn’t require any baking time. The active preparation time typically takes about 20–30 minutes. This includes softening the butter, mixing the ingredients, kneading the dough, and shaping the mints into your desired forms. If you are dividing and coloring multiple batches, you may want to allow a few extra minutes for careful kneading and blending of colors.
The longest portion of the process is the drying time. Once shaped, the mints need 12–24 hours to air-dry at room temperature. This resting period allows them to firm up on the outside while maintaining their creamy, melt-in-your-mouth center. Humidity can slightly extend drying time, so in more humid environments, allow up to 36 hours if needed.
Tips for Perfect Easy Butter Mints
Use room-temperature butter for the smoothest texture. Butter that is too cold creates lumps, while melted butter can make the dough greasy.
Sift the powdered sugar before adding it to avoid small clumps and to ensure a silky consistency.
Add peppermint extract gradually. It’s easier to increase flavor than to correct an overpowering mint taste.
If piping the mints, test a small amount first to make sure the dough is soft enough to pipe but firm enough to hold its shape.
Allow proper air circulation while drying. Spacing the mints apart helps them set evenly and prevents sticky bottoms.
Watch Out for These Mistakes While Cooking
Adding too much liquid can make the dough sticky and difficult to shape. Always measure the cream and extract carefully.
Skipping the gradual addition of powdered sugar may result in uneven texture or overly dense mints.
Storing the mints before they are fully dry can trap moisture and affect their texture.
Using liquid food coloring excessively can thin the dough and alter consistency.
Refrigerating during the drying stage may create condensation, which can make the mints tacky.
What to Serve With Easy Butter Mints?
1. Holiday Cookie Platters
Easy Butter Mints pair beautifully with sugar cookies, gingerbread, and shortbread for a festive dessert spread.
2. After-Dinner Coffee
Their refreshing mint flavor complements hot coffee, espresso, or cappuccino perfectly.
3. Tea Parties
Serve alongside black tea, peppermint tea, or chamomile for an elegant afternoon treat.
4. Wedding or Baby Shower Dessert Tables
Their soft pastel colors and delicate texture make them ideal for special celebrations.
5. Ice Cream and Dessert Garnish
Crush lightly and sprinkle over vanilla ice cream, chocolate mousse, or cupcakes for added flavor and decoration.
Storage Instructions
Store Easy Butter Mints in an airtight container at room temperature for up to 2 weeks. Keep them in a cool, dry place away from direct sunlight to prevent softening.
If stacking layers, place parchment or wax paper between them to avoid sticking. Proper airflow before storage ensures they maintain their outer firmness.
For longer storage, you can refrigerate them in a sealed container for up to 1 month. Allow them to come to room temperature before serving for the best creamy texture.
Freezing is also possible. Place mints in a freezer-safe container with parchment between layers and freeze for up to 3 months. Thaw at room temperature without opening the container to prevent condensation from forming on the candies.
Estimated Nutrition
Per serving (approximately 3–4 mints), values may vary depending on size and exact ingredients used:
Calories: 90–120
Carbohydrates: 15–18g
Sugar: 15–17g
Fat: 3–5g
Saturated Fat: 2–3g
Cholesterol: 10–15mg
Sodium: 5–20mg
Protein: Less than 1g
Frequently Asked Questions
Can I make Easy Butter Mints ahead of time?
Yes, they are perfect for making in advance. Prepare them several days before your event and store in an airtight container once fully dried.
Why are my mints too soft?
They may need additional powdered sugar or more drying time. High humidity can also slow the setting process.
Can I use different flavors instead of peppermint?
Absolutely. Vanilla, almond, lemon, or even orange extract can be used for creative variations.
Do Easy Butter Mints need refrigeration?
They can be stored at room temperature if kept in a cool, dry place. Refrigeration extends shelf life but is not required.
How do I fix overly sweet mints?
Add a tiny pinch of salt or slightly increase the peppermint extract to balance the sweetness.
Conclusion
Easy Butter Mints are a charming, melt-in-your-mouth candy that brings a touch of nostalgia to any occasion. With minimal ingredients and no baking required, they’re a simple yet elegant addition to holiday trays, celebrations, or everyday sweet cravings. Once you make them from scratch, you’ll appreciate how effortlessly they come together and how beautifully they brighten any dessert table.
Easy Butter Mints
- Prep Time: 25 minutes
- Cook Time: 0 minutes
- Total Time: 24 hours 25 minutes
- Yield: 80 mints
- Category: Dessert
- Method: No-Bake
- Cuisine: American
- Diet: Vegetarian
Description
These Easy Butter Mints are a melt-in-your-mouth classic that instantly add charm to any dessert table. Creamy, buttery, and delicately flavored with peppermint, they’re perfect for holidays, weddings, baby showers, or whenever you need a quick sweet treat. This easy recipe is ideal for dessert ideas, food ideas, edible gifts, and make-ahead party candy.
Ingredients
1/2 cup unsalted butter, softened
4 cups powdered sugar, sifted
1 tablespoon heavy cream
1 teaspoon pure peppermint extract
Pinch of salt
Gel food coloring (optional)
Instructions
1. Place the softened butter in a large mixing bowl and beat until smooth and creamy, about 2–3 minutes.
2. Add peppermint extract, heavy cream, and salt. Mix until combined.
3. Gradually add powdered sugar one cup at a time, mixing on low speed.
4. Knead the mixture on a powdered sugar–dusted surface until smooth and pliable.
5. Divide and add gel food coloring if desired, kneading until evenly colored.
6. Shape into small balls, ropes, or pipe into decorative swirls.
7. Place on parchment-lined tray and air-dry 12–24 hours.
8. Store in an airtight container once firm.
Notes
Use room-temperature butter for best texture.
Add peppermint extract gradually to control flavor strength.
Allow full drying time before storing to prevent sticking.
Nutrition
- Serving Size: 4 mints
- Calories: 110
- Sugar: 16g
- Sodium: 10mg
- Fat: 4g
- Saturated Fat: 2.5g
- Unsaturated Fat: 1g
- Trans Fat: 0g
- Carbohydrates: 17g
- Fiber: 0g
- Protein: 0g
- Cholesterol: 12mg
Keywords: easy butter mints, homemade candy, no bake dessert, holiday candy, wedding mints, easy recipe, dessert ideas