
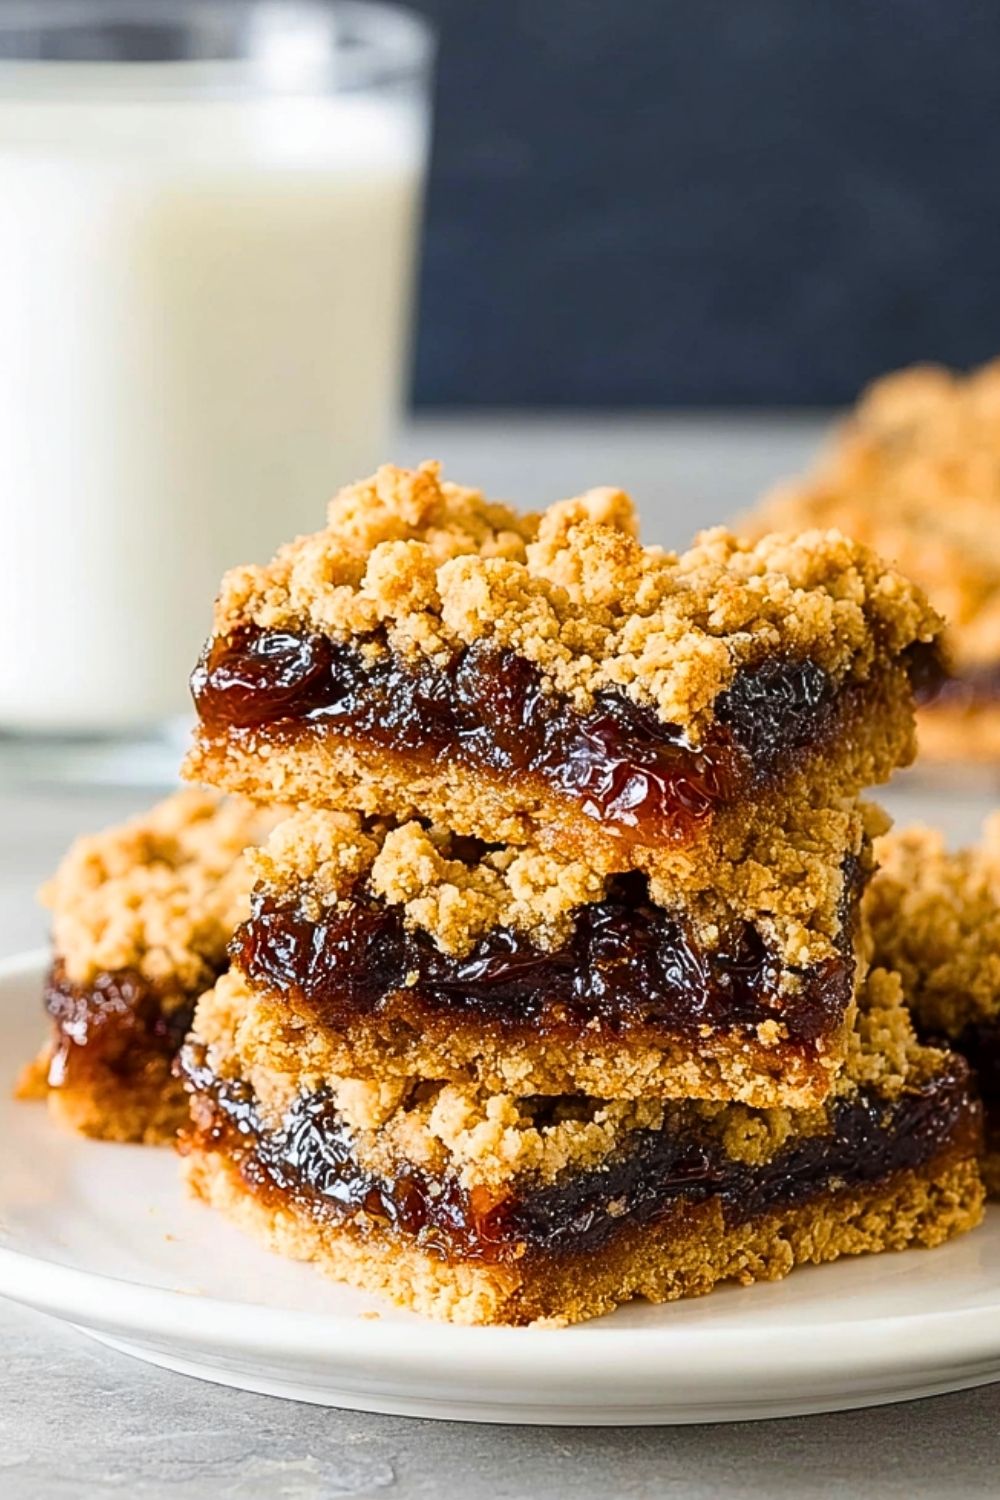
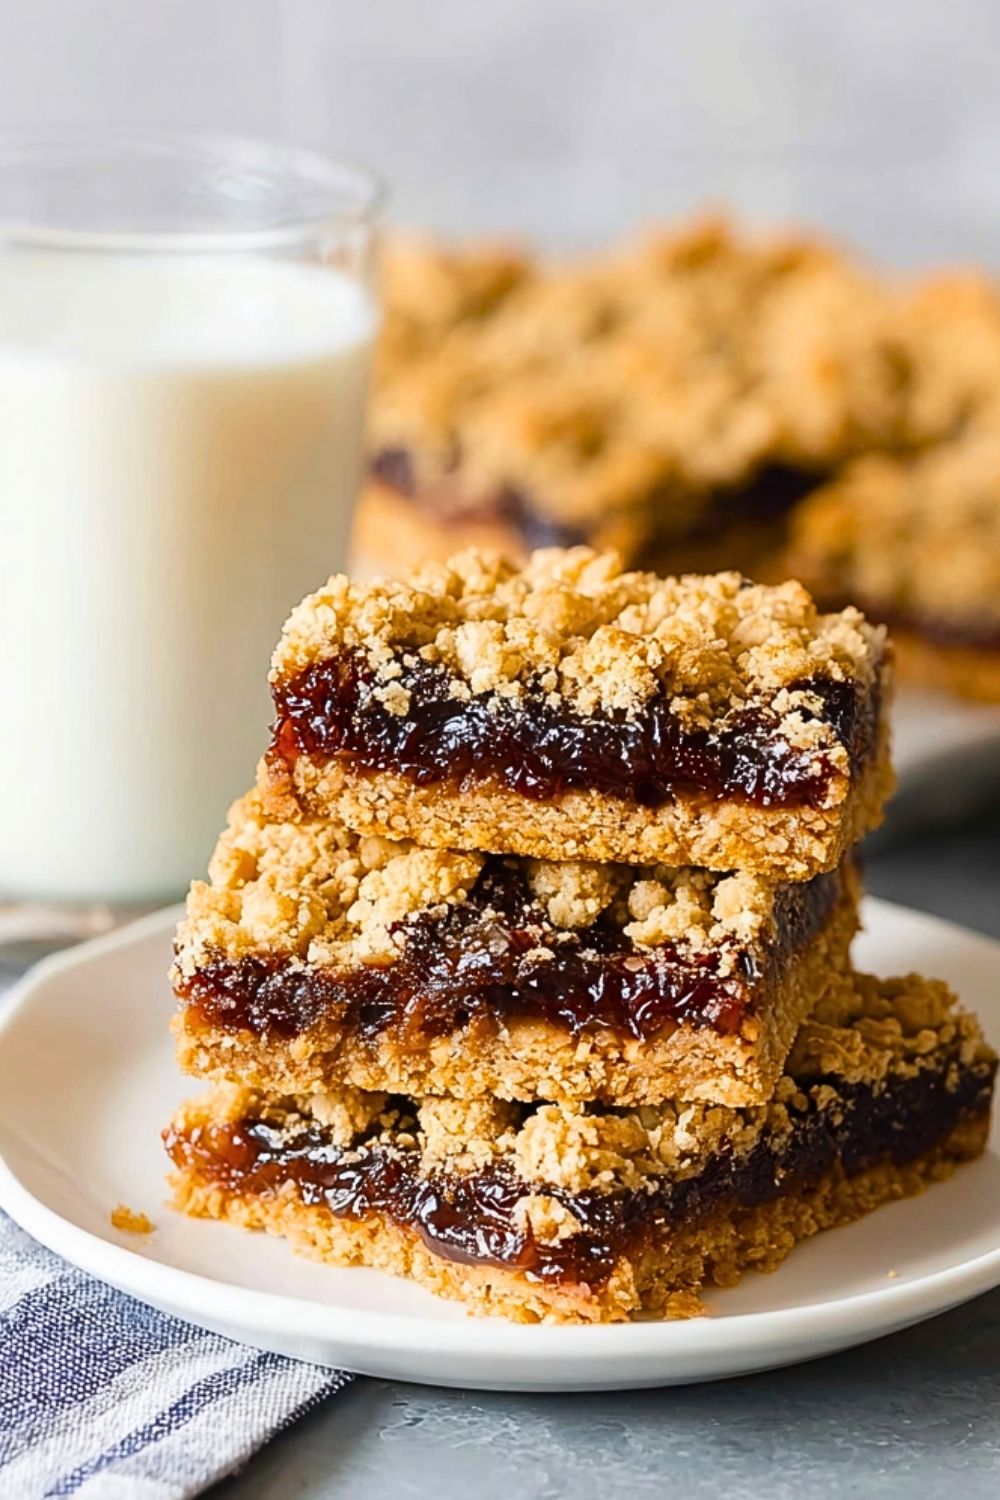
There’s something deeply comforting about a tray of freshly baked Date Squares cooling on the counter. With their golden, crumbly oat topping and rich, naturally sweet date filling, these bars strike the perfect balance between wholesome and indulgent. Each bite delivers a chewy center wrapped in a buttery, slightly crisp crust that pairs beautifully with a glass of milk or a warm cup of tea.
This classic treat has stood the test of time for a reason. Whether you’re preparing a quick dessert, a snack for the family, or something nostalgic to share, Date Squares bring a homemade charm that feels both simple and satisfying. They’re easy to make yet impressive enough to serve on any occasion.
Why You’ll Love This Date Squares Recipe
- Perfect balance of sweet and hearty flavors
- Made with simple pantry ingredients
- Naturally sweetened with dates
- Great for meal prep or make-ahead desserts
- Kid-friendly and freezer-friendly
Preparation Phase & Tools to Use (Essential Tools and Their Importance)
To make these Date Squares successfully, having the right tools on hand makes a noticeable difference. A medium saucepan is essential for softening the dates into a smooth, spreadable filling. A mixing bowl allows you to evenly combine the oat crumble ingredients without overworking the mixture. Measuring cups and spoons ensure consistent flavor and texture, especially when balancing sweetness and butter content. A sturdy baking pan (typically 8×8 or 9×9 inches) helps the bars bake evenly, while parchment paper makes removal and cleanup much easier. Finally, a spatula is useful for pressing layers firmly and spreading the filling evenly.
Preparation Tips
For the best results, use soft, fresh dates as they blend more easily into a smooth filling. If your dates feel dry, soak them briefly in warm water before cooking. When preparing the oat mixture, avoid overmixing; you want a crumbly texture rather than a dough. Press the base layer firmly into the pan to create a solid foundation, but keep the top layer loose for that signature crumble finish. Allow the bars to cool completely before slicing to help them hold their shape cleanly.
Ingredients for this Date Squares Recipe
To achieve the perfect balance of buttery crumble and rich date filling, each ingredient plays a specific role. Using quality ingredients will significantly enhance both flavor and texture.
For the Date Filling:
- 2 cups pitted dates (chopped) – the star ingredient, providing natural sweetness and a chewy texture
- 1 cup water – helps soften the dates into a smooth paste
- 1 teaspoon vanilla extract – enhances the overall flavor profile
- 1 tablespoon lemon juice – balances sweetness with a slight tang
For the Crumble Base & Topping:
- 1 cup all-purpose flour – gives structure to the base
- 1 cup rolled oats – adds texture and a hearty bite
- 3/4 cup brown sugar – provides sweetness and a subtle caramel flavor
- 1/2 teaspoon baking soda – helps create a tender texture
- 1/4 teaspoon salt – enhances all flavors
- 3/4 cup unsalted butter (melted) – binds ingredients and creates a rich, crumbly consistency
Step 1: Prepare the Date Filling
In a medium saucepan over medium heat, combine the chopped dates and water. Stir frequently as the mixture begins to soften. As the dates break down, mash them gently with a spoon or spatula until a thick, paste-like consistency forms. This should take about 8–10 minutes. Remove from heat, then stir in the vanilla extract and lemon juice. Set aside to cool slightly.
Step 2: Preheat and Prepare the Baking Pan
Preheat your oven to 350°F (175°C). Line an 8×8-inch or 9×9-inch baking pan with parchment paper, leaving some overhang on the sides. This will make it easier to lift the bars out after baking.
Step 3: Mix the Crumble Mixture
In a large mixing bowl, combine the flour, rolled oats, brown sugar, baking soda, and salt. Stir until evenly distributed. Pour in the melted butter and mix using a fork or your hands until the mixture forms coarse crumbs. The texture should resemble damp sand with small clumps.
Step 4: Form the Base Layer
Take about two-thirds of the crumble mixture and press it firmly into the bottom of the prepared baking pan. Use the back of a spoon or the bottom of a glass to ensure an even and compact layer. This base is crucial for holding the bars together.
Step 5: Add the Date Filling
Spread the prepared date mixture evenly over the base layer. Use a spatula to smooth it out, making sure it reaches all corners of the pan without disturbing the base.
Step 6: Add the Crumble Topping
Sprinkle the remaining crumble mixture evenly over the date layer. Do not press it down—keeping it loose creates that classic crumbly texture on top.
Step 7: Bake to Perfection
Place the pan in the preheated oven and bake for 30–35 minutes, or until the top is golden brown and slightly crisp. The edges may appear a bit darker, which adds extra flavor.
Step 8: Cool and Slice
Remove the pan from the oven and allow the Date Squares to cool completely in the pan. This step is essential for clean slicing. Once cooled, lift the bars out using the parchment paper and cut into squares or rectangles as desired.
Notes
Date Squares are wonderfully forgiving, but a few thoughtful touches can elevate them from good to exceptional. Using high-quality, soft dates will make a noticeable difference in both flavor and texture. If you prefer a deeper flavor, try adding a pinch of cinnamon or nutmeg to the crumble mixture. For a slightly richer filling, a small amount of butter can be stirred into the date mixture as it cooks. These bars also adapt well to dietary needs—swap in whole wheat flour for added fiber or use plant-based butter for a dairy-free version.
Watch Out for These Mistakes While Cooking
- Using dry or old dates, which can result in a lumpy, less flavorful filling
- Not cooking the date mixture long enough, leaving it too watery and difficult to spread
- Overmixing the crumble, which can turn it into a dense dough instead of a light crumble
- Failing to press the base layer firmly, causing the bars to fall apart
- Pressing the top layer too much, which removes the crumbly texture
- Cutting the bars before they are fully cooled, leading to messy slices
Storage Instructions
Once fully cooled, store Date Squares in an airtight container at room temperature for up to 3 days. For longer storage, refrigerate them for up to a week; just allow them to come to room temperature before serving for the best texture. These bars also freeze exceptionally well—wrap them individually or store in layers separated by parchment paper in a freezer-safe container for up to 3 months. Thaw overnight in the refrigerator or at room temperature when ready to enjoy.
Estimated Nutrition
(Per serving, approximate values)
- Calories: 220–260
- Carbohydrates: 35–40g
- Protein: 2–4g
- Fat: 9–12g
- Saturated Fat: 5–7g
- Fiber: 3–5g
- Sugar: 18–24g
- Sodium: 80–120mg
Frequently Asked Questions
Can I use quick oats instead of rolled oats?
Yes, but the texture will be softer and less chewy. Rolled oats are recommended for the classic structure.
Can I make Date Squares gluten-free?
Absolutely. Substitute the all-purpose flour with a gluten-free flour blend and ensure your oats are certified gluten-free.
What can I use instead of brown sugar?
You can use coconut sugar or white sugar, though brown sugar gives a richer, caramel-like flavor.
Can I reduce the sugar in this recipe?
Yes, since dates are naturally sweet, you can slightly reduce the sugar without sacrificing too much flavor.
How do I know when the bars are done baking?
The top should be golden brown, and the edges slightly darker. The center will firm up as it cools.
Can I add nuts or other ingredients?
Chopped walnuts, pecans, or even shredded coconut can be added to the crumble for extra texture.
Why is my filling too runny?
It likely needs more cooking time. Continue simmering until it thickens to a paste-like consistency.
Can I double this recipe?
Yes, simply use a larger baking pan (such as 9×13 inches) and adjust the baking time slightly.
Conclusion
Date Squares are a timeless treat that combines simple ingredients with comforting flavors. Whether you’re baking for a gathering, preparing snacks for the week, or just craving something homemade, these bars deliver every time. With their rich date filling and buttery oat crumble, they offer a satisfying bite that feels both nostalgic and nourishing. Once you try them, they’re sure to become a regular favorite in your kitchen.
Date Squares
- Prep Time: 15 minutes
- Cook Time: 35 minutes
- Total Time: 50 minutes
- Yield: 9 squares
- Category: Dessert
- Method: Baking
- Cuisine: North American
- Diet: Vegetarian
Description
Craving a quick breakfast, easy dessert, or healthy snack that feels both nostalgic and satisfying? These Date Squares are the perfect solution. With a buttery oat crumble and naturally sweet, rich date filling, they strike a delicious balance between indulgence and wholesome goodness. Whether you’re looking for easy dinner ideas turned dessert or simple food ideas for the week, this easy recipe delivers every time.
Ingredients
2 cups pitted dates (chopped)
1 cup water
1 teaspoon vanilla extract
1 tablespoon lemon juice
1 cup all-purpose flour
1 cup rolled oats
3/4 cup brown sugar
1/2 teaspoon baking soda
1/4 teaspoon salt
3/4 cup unsalted butter (melted)
Instructions
1. In a saucepan over medium heat, combine dates and water. Cook while stirring until soft and thick, about 8–10 minutes. Mash into a paste, then stir in vanilla and lemon juice.
2. Preheat oven to 350°F (175°C) and line an 8×8-inch baking pan with parchment paper.
3. In a bowl, mix flour, oats, brown sugar, baking soda, and salt.
4. Add melted butter and mix until crumbly.
5. Press two-thirds of the mixture firmly into the prepared pan.
6. Spread the date filling evenly over the base.
7. Sprinkle remaining crumble mixture on top without pressing.
8. Bake for 30–35 minutes until golden brown.
9. Cool completely before slicing into squares.
Notes
Use soft, fresh dates for best texture and flavor.
Do not overmix the crumble to keep it light and crumbly.
Let the bars cool completely before cutting for clean slices.
Nutrition
- Serving Size: 1 square
- Calories: 240
- Sugar: 20g
- Sodium: 100mg
- Fat: 10g
- Saturated Fat: 6g
- Unsaturated Fat: 3g
- Trans Fat: 0g
- Carbohydrates: 38g
- Fiber: 4g
- Protein: 3g
- Cholesterol: 20mg
Keywords: date squares, easy dessert, healthy snack, oat bars, quick breakfast, homemade treats