

These Best Rice Krispie Treats are the ultimate nostalgic snack, taken to a new level of gooey goodness. Soft, chewy, and loaded with pockets of melted marshmallow, each bite gives you that perfect balance of crunch and sweetness. Whether you’re making them for a party, bake sale, or just a cozy night at home, these treats are guaranteed to disappear fast.
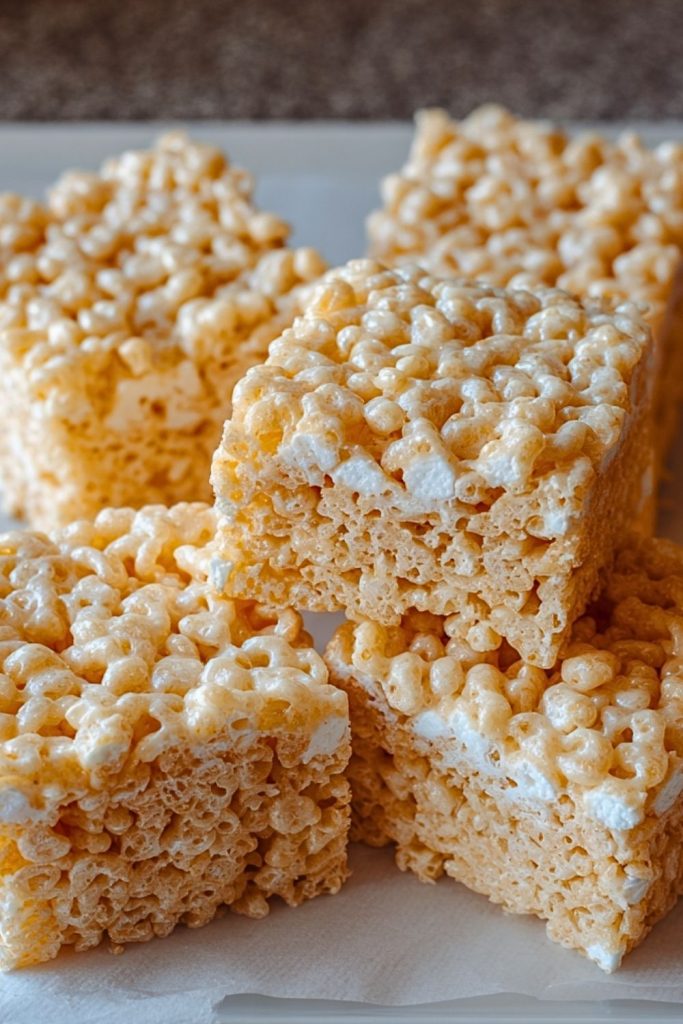
Unlike the dry, overly firm versions you might remember from store-bought packs, these homemade Rice Krispie Treats are rich, tender, and absolutely irresistible. The secret? Just the right ratio of marshmallows to cereal, a touch of butter, and a few tricks to lock in that ideal texture. They’re quick to whip up, no baking required, and endlessly satisfying.
Why You’ll Love This Best Rice Krispie Treats Recipe
- Ultra-gooey texture: Every square is packed with melty, stretchy marshmallow bliss.
- Quick & easy: Just 10 minutes on the stove and you’re done.
- Minimal ingredients: Only 3 basic pantry staples.
- Kid-friendly & crowd-pleasing: A universal favorite for all ages.
- Customizable: Add-ins like chocolate chips, peanut butter, or sprinkles can make them your own.
Preparation Phase & Tools to Use (Essential Tools and Equipment, and Why They Matter)
Creating the Best Rice Krispie Treats doesn’t require fancy equipment, but using the right tools will ensure a smooth process and flawless results.
- Large Non-Stick Pot: A non-stick pot helps melt the butter and marshmallows evenly without scorching. The large size is important to accommodate stirring in the cereal without overflow.
- Heat-Resistant Silicone Spatula: This tool is ideal for stirring melted marshmallows and folding in the cereal. Its non-stick nature makes it easier to handle the sticky mixture.
- 9×13-Inch Baking Dish: This provides the perfect thickness for your treats. A smaller pan will result in thicker treats, while a larger one makes them thinner—so choose based on your preference.
- Parchment Paper or Non-Stick Spray: Essential for easy removal. Lining or greasing your pan ensures the treats don’t stick and keeps cleanup hassle-free.
- Measuring Cups: Precision is key when it comes to balancing marshmallow and cereal quantities.
Preparation Tips
- Melt Low & Slow: Always melt the butter and marshmallows over low heat. Rushing this step can cause the sugar to crystallize or burn, resulting in a hard texture.
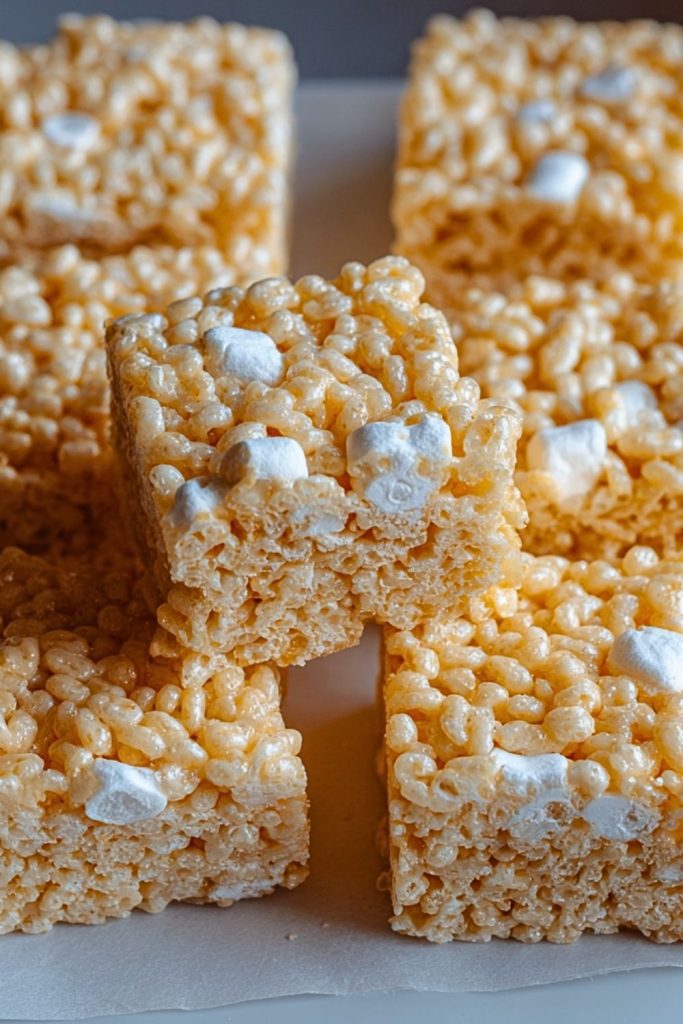
- Reserve a Handful of Mini Marshmallows: Fold in a cup of unmelted mini marshmallows at the end for extra gooey pockets throughout.
- Don’t Pack the Mixture Too Firmly: Press the mixture gently into the pan with lightly greased hands or parchment. Pressing too hard will make your treats dense.
- Work Quickly: Once the cereal is added, you’ll need to move fast to mix and press before the mixture sets.
- Grease Everything: Lightly coat your spatula, hands, and even the parchment with butter or spray to prevent sticking during spreading.
Ingredients for This Best Rice Krispie Treats Recipe
To make these ultra-gooey, rich, and irresistible Rice Krispie Treats, you’ll need just a handful of simple ingredients:
- 6 tablespoons unsalted butter – Adds richness and depth to the marshmallow mixture.
- 1 (16-ounce) bag mini marshmallows (about 8 cups), divided – The heart of the recipe. Melted marshmallows give the chewy texture, and a reserved portion adds soft bursts throughout.
- 1/2 teaspoon pure vanilla extract (optional) – Enhances the flavor with a warm, comforting note.
- 6 cups Rice Krispies cereal – Provides the signature crispy crunch and structure.
- Non-stick cooking spray or extra butter for greasing – Keeps everything from sticking during mixing and pressing.
Optional Add-Ins:
- 1/2 cup mini chocolate chips (fold in once the mix has cooled slightly)
- A pinch of sea salt for balance
- Colored sprinkles for a fun twist
Step 1: Melt the Butter
In a large non-stick pot over low heat, melt the unsalted butter completely. Stir gently to ensure it doesn’t brown or burn.
Step 2: Add Most of the Marshmallows
Pour in about 6 1/2 cups of the mini marshmallows (reserve the remaining 1 1/2 cups). Stir constantly over low heat until fully melted and smooth. This step is key to achieving that classic gooey texture.
Step 3: Stir in Vanilla Extract
Once the marshmallows are melted, remove the pot from heat and stir in the vanilla extract. This optional step enhances the flavor but can be skipped if you prefer the classic taste.
Step 4: Fold in the Cereal
Immediately add the Rice Krispies cereal to the pot. Using a greased silicone spatula, gently fold the cereal into the marshmallow mixture until evenly coated.
Step 5: Add Reserved Marshmallows
Quickly fold in the remaining 1 1/2 cups of mini marshmallows. These will partially melt, creating gooey pockets throughout each treat.
Step 6: Press into Pan
Transfer the mixture into a greased or parchment-lined 9×13-inch baking dish. Using lightly greased hands or a piece of parchment, gently press the mixture evenly into the pan. Avoid compacting it too much.
Step 7: Cool and Slice
Let the treats cool at room temperature for at least 30 minutes. Once set, slice into squares and serve. For clean cuts, use a sharp knife coated lightly with non-stick spray.
Notes
- For extra gooey treats, reduce the cereal to 5 1/2 cups instead of 6.
- If you want thicker squares, press the mixture into an 8×8 or 9×9-inch pan instead of 9×13.
- Using fresh marshmallows is crucial—older ones won’t melt as smoothly or taste as good.
- These treats are naturally gluten-free, as long as your Rice Krispies brand is certified gluten-free.
- To make them dairy-free, use a plant-based butter substitute and check your marshmallows for hidden dairy.
Watch Out for These Mistakes While Cooking
- Overheating the marshmallows – This is the #1 mistake. It causes the sugar to crystallize, resulting in hard, crumbly treats. Always melt on low heat.
- Packing the mixture too firmly – Compressing too hard while pressing into the pan leads to dense, tough bars. Press just enough to flatten.
- Using stale cereal – Fresh, crispy cereal is essential for that satisfying snap.
- Skipping greasing tools and hands – This sticky mixture will cling to everything. A quick spritz of non-stick spray makes the process way easier.
- Not working quickly enough – Once the cereal hits the marshmallows, the mixture begins to set fast. Have everything prepped before you start.
- Using uneven heat – High or inconsistent heat can scorch the butter or marshmallows. Keep it low and steady.
- Leaving out the vanilla – It’s optional, but it really rounds out the flavor and adds that bakery-style touch.
- Overmixing add-ins like chocolate chips – Stir them in only once the mixture has cooled a bit to avoid melting them completely.
What to Serve With Best Rice Krispie Treats?
These classic treats are versatile and pair well with both beverages and other snacks. Whether you’re serving them at a party or packing them in a lunchbox, here are some fun ways to enjoy them:
8 Recommendations
- Cold Milk – The ultimate pairing. A glass of cold milk balances the sweetness perfectly.
- Hot Chocolate – Especially in colder months, this cozy drink complements the gooey marshmallow flavor.
- Fruit Skewers – Serve with fresh strawberries, grapes, and pineapple for a refreshing contrast.
- Chocolate-Dipped Edges – Dip half of each square in melted chocolate and let set for an elevated treat.
- Ice Cream Sandwiches – Use two Rice Krispie squares as “cookies” and fill with your favorite ice cream.
- Peanut Butter Drizzle – Add a warm drizzle of peanut butter on top for a nutty twist.
- Coffee or Espresso – For adults, a bitter coffee balances the sweetness of the treats.
- Mini Cupcake Assortment – Create a dessert platter with Rice Krispies and bite-sized cupcakes for variety.
Storage Instructions
To keep your Best Rice Krispie Treats soft and fresh:
- Room Temperature: Store in an airtight container at room temperature for up to 3 days. Stack with parchment paper between layers to prevent sticking.
- Avoid Refrigeration: Refrigerating can dry them out and make them overly firm.
- Freezing: Yes, you can freeze them! Wrap each square in plastic wrap, then place in a freezer-safe bag. Freeze for up to 6 weeks. Thaw at room temp for 30–60 minutes before serving.
Estimated Nutrition (Per Square, based on 24 servings)
- Calories: 120
- Fat: 3g
- Saturated Fat: 2g
- Carbohydrates: 22g
- Sugar: 12g
- Protein: 1g
- Fiber: 0g
- Sodium: 60mg
Note: Nutrition values may vary depending on exact ingredients and portion size.
Frequently Asked Questions
1. Can I use large marshmallows instead of mini ones?
Yes, but chop them into smaller pieces for quicker melting and smoother blending. Mini marshmallows melt more evenly and are easier to fold in.
2. How do I keep Rice Krispie Treats from getting hard?
The key is to melt marshmallows slowly over low heat and not overpack the mixture into the pan. Also, store them in an airtight container to retain moisture.
3. Can I make these treats vegan?
Absolutely! Use vegan marshmallows and plant-based butter. Double-check that your cereal is also vegan, as some brands use vitamin D3 sourced from animals.
4. Why are my treats falling apart?
You might not have used enough marshmallows, or the mixture didn’t set properly. Make sure the marshmallows and cereal are fully combined and the bars are cooled before cutting.
5. Can I add mix-ins like candy or nuts?
Definitely! Just make sure to fold them in gently after the mixture cools slightly so they don’t melt or sink to the bottom.
6. What’s the best way to cut them cleanly?
Let the treats cool fully, then use a sharp knife sprayed with non-stick spray or buttered. Clean the blade between cuts for neat edges.
7. Can I double the recipe?
Yes. Use a larger pot and press into two pans or a single extra-large baking sheet to maintain the same thickness.
8. Is it okay to microwave the marshmallows instead of melting on the stove?
It works in a pinch, but the stovetop gives you better control over the melting process and texture. If microwaving, do it in short bursts and stir frequently.
Conclusion
These Best Rice Krispie Treats are more than just a quick snack—they’re a warm, marshmallow-filled hug from your childhood. With the right technique, a few smart tips, and quality ingredients, you’ll never settle for store-bought again. Make them once, and they’ll become your go-to treat for any occasion—easy, delightful, and totally crave-worthy.

Best Rice Krispie Treats
- Prep Time: 10 minutes
- Cook Time: 5 minutes
- Total Time: 15 minutes
- Yield: 24 squares
Description
These Best Rice Krispie Treats are gooey, soft, and packed with melted marshmallow goodness. Easy to make and irresistibly delicious, they’re the perfect no-bake treat for kids and adults alike.
Ingredients
- 6 tablespoons unsalted butter
- 1 (16-ounce) bag mini marshmallows (about 8 cups), divided
- 1/2 teaspoon pure vanilla extract (optional)
- 6 cups Rice Krispies cereal
- Non-stick cooking spray or extra butter for greasing
Instructions
- In a large non-stick pot, melt the butter over low heat.
- Add 6 1/2 cups of mini marshmallows and stir until fully melted.
- Remove from heat and stir in vanilla extract.
- Add Rice Krispies cereal and fold until evenly coated.
- Quickly stir in the remaining 1 1/2 cups of mini marshmallows.
- Press the mixture gently into a greased or parchment-lined 9×13-inch baking dish.
- Let cool at room temperature for at least 30 minutes.
- Cut into squares and serve.